Installation
The first step is the successful installation of the CMon. This is where all of the agents will check into and allow you to centrally monitor your backups across multiple machines through a web browser. The CMon needs to be installed onto a Windows Server 2008 R2 or 2012 machine that all of the other machines on which you install agents can talk to. Please check the System Requirements for the NovaBACKUP® CMon for the machine requirements for installation of the software.
The agents themselves connect to the CMon through port 4502 by default, though this is configurable. The built-in web server will use port 80, allowing you to connect to the web page and monitor your backups. This may also be configured at the time of CMon installation.
The default choices for the installation of the CMon should be sufficient for most environments and you are advised to utilize the default choices.
If you have more than 5 backup agents, it's recommended to use Microsoft SQL Server. If you do not already have IIS installed on the machine which the CMon will be installed - the built-in web server will work great.
For more detailed steps through the installation of the CMon please consult the section on CMon Installation coming up next in this User Manual.
Things to note for the installation of the CMon:
- Make sure the incoming and outgoing firewall default ports 80 and 4502 are correctly configured to allow for proper communication.
- During the installation of the CMon you will be asked for the Public Server Address of the management server (CMon). This needs to be an address or URL where all of the agents can reach the CMon.
- Before connecting agents to the CMon make sure you can login to it. There will be a shortcut in your Start Menu that opens a web page with the CMon login. The default login user is "admin" and the default password is "admin"
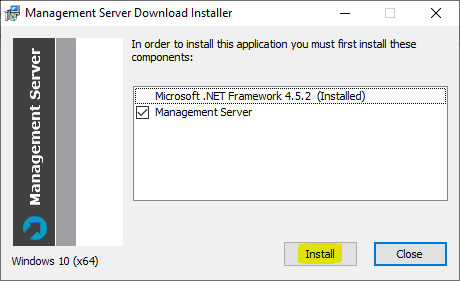
To install CMon , run the setup executable to begin the installer wizard, the installer will let you know what things you are missing for the prerequisites to install the software.
Upon running the installer, the following screen is displayed to ensure all prerequisite components are installed.
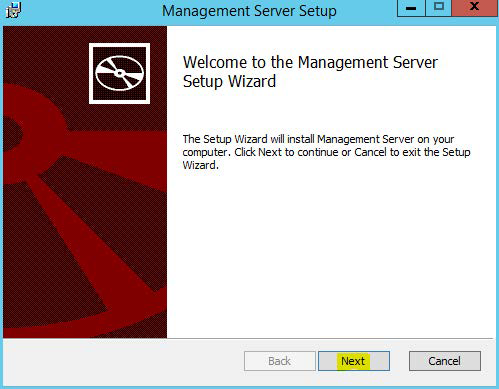
After you have all the prerequisites installed, click on Install and the following screen will be displayed:
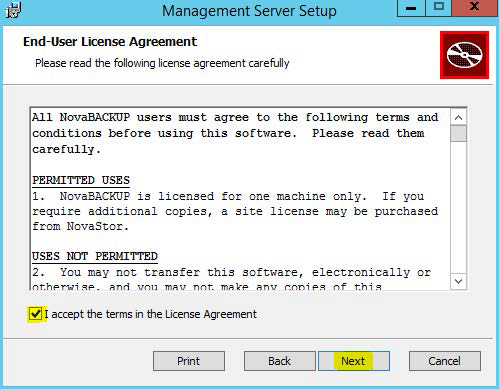
Clicking next on this screen will present you with the End-User License Agreement screen which needs to be accepted before continuing.
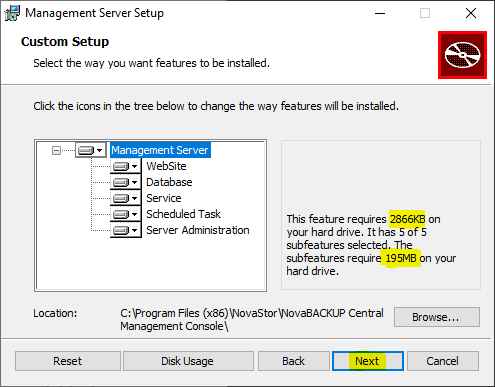
After accepting the EULA the next screen shows what features will be installed, it is recommended to keep everything with the defaults here unless there is a specific reason you need to change them.
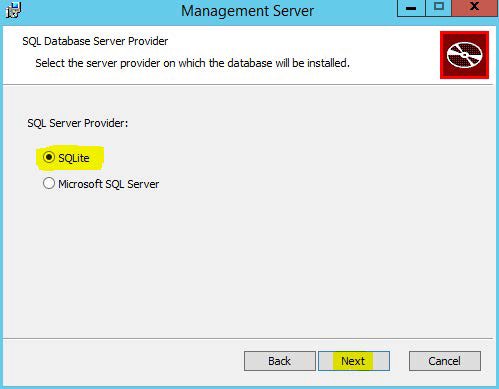
The following screen allows you to choose whether or not you are going to use the built in SQLite database or utilize a Microsoft SQL Server. If you have more than 5 backup agents, it's recommended to use Microsoft SQL Server for better performance and improved experience.
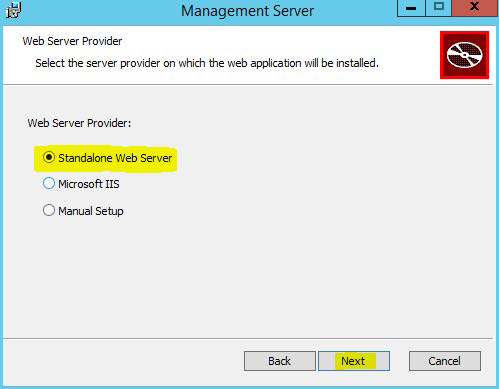
Assuming you choose the SQLite database the next screen you will see is the screen that will ask you where you want to host the web application. If you do not already have IIS installed on your machine, we have found in testing that the standalone web server works very well. If you have IIS installed it is recommended that you use it, otherwise you will have a conflict of open ports.
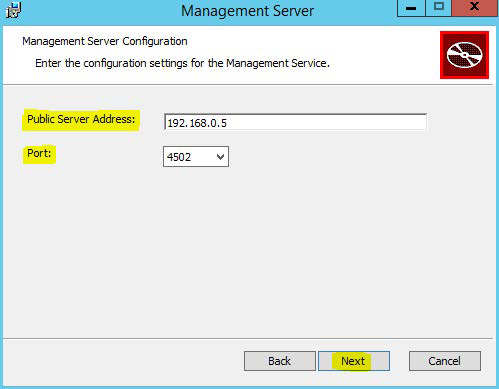
After choosing where you want the web application installed to it is time to configure the web application. The Public Server Address dialog box shown in this screen is the IP, DNS name, or computer name that the NovaBACKUP agents are going to be communicating with. The Port dropdown box contains the available ports that the NovaBACKUP agents can communicate to the CMon on.
The computer that hosts CMon needs to have the port that you choose open on it so the NovaBACKUP agents can communicate with the CMC. The agents themselves do not need to open any incoming ports, but they have to be configured to use the correct port. All agent communication is initiated from the agent so no incoming communication from the CMC is initiate so there should not be much to deal with firewalls on the NovaBACKUP agents.
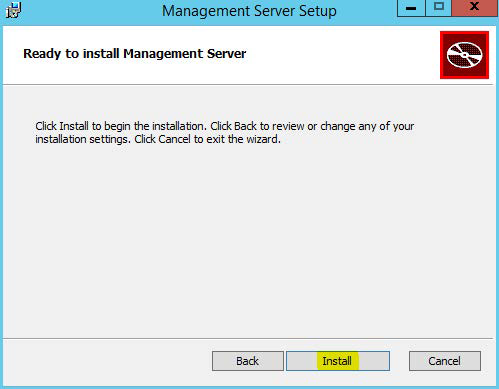
At this point all the information needed to install CMon has been gathered and the installer is ready to start installing it.
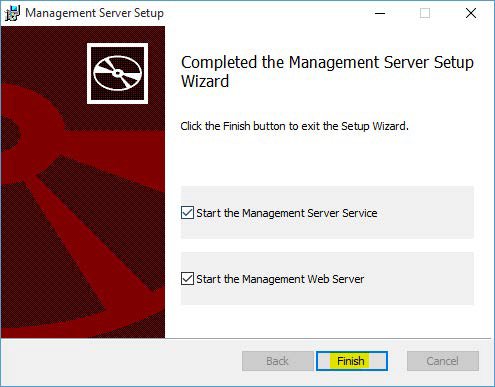
When the installer completes you will see the following screen which starts the required Services. Click "Finish" to complete the installation. If any other CMon installation related screens are still open at this point you can close them.
